Went out to look at a Monster Bash i had previously restored, as the start and launch buttons were not working on the machine.
The guy had replaced the bulb in the start button recently (i should have taken more notice of this!)
I normally start repairs with switch or lamp issues by determining if the problem is on the playfield, or on the CPU board. To do this, you go into the switch edges test, then remove the switch input plugs from the CPU, and bridge the pins across with a diode to simulate a switch signal going to the CPU. In this particular case, we got the switches to activate via this method. This tells us the problem is back from the CPU board itself (ie: a playfield wiring or switch issue).
Now the start and launch button are both on row 1 of the switch matrix, so this told me that the problem almost certainly has to be related and it was not two switches failing at the same time.
So we set the multimeter on buzz mode (to test continuity and see if we could find where the signal was disconnected (following the green/brown wire). We got continuity to the plumb bob tilt which is in the cabinet, plus all the switches on the playfield on this particular row of switches (row 1).
We also got continuity between the launch and start button, but not with any of the other switches in the row. We started to look at the plugs in the small board inside the front left of the cabinet and wondered if there was a dodgy connection. Eventually we tested continuity between one of the plugs and the start button – no continuity…….
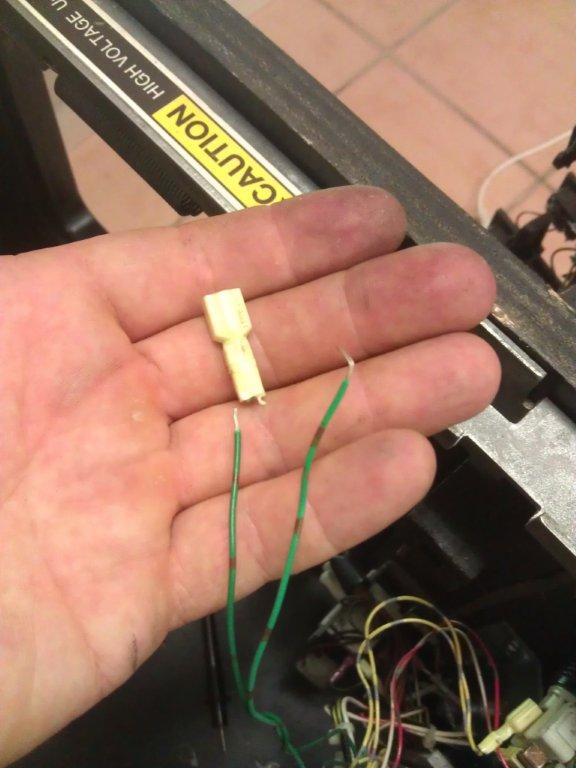
After inspecting the wire (it was only 150mm long) it all looked good, with no breaks or exposed sections, we determined it had to be the blade connector at the end. So we cut this off, replaced with a new one and everything worked! So what had happened, was the guy must have pulled a bit too hard on the wires rather than the plug going into the switch when he replaced the bulb, and the wires were still joined to each other, but not to the metal part of the connector – or they probably were not joined particularly well from the factory.
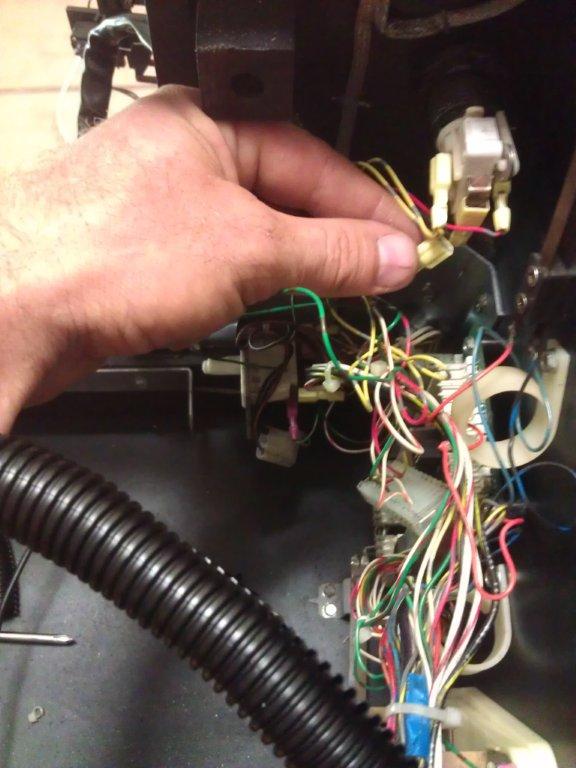
Wiring to the start button
The offending dodgy connector – now snipped off
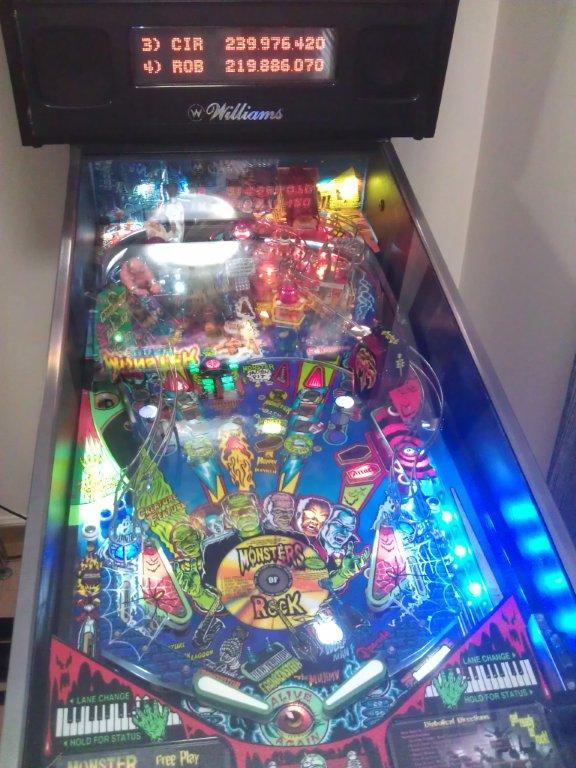
Game fully working – note how i knocked one of his high scores of in my test game!