Well now that Fishtales is done and being enjoyed by a new owner, its time to move on to the next project
Originally when i looked at this machine once i got it home, i thought the cabinet was totally stuffed….maybe it is in most other’s opinion, but the sides are very sturdy with only a few small chunks and scrapes, its the MDF base and chipboard back of the headbox that have made it look so bad (plus the inch of possum crap and urine….). So the plan is to bog up the dings in the sides, and replace the base and rear panel. A possum had actually chewed through the base of this machine and quite possibly had a possum rave party inside, as there are chunks of the base spread through the whole cabinet….
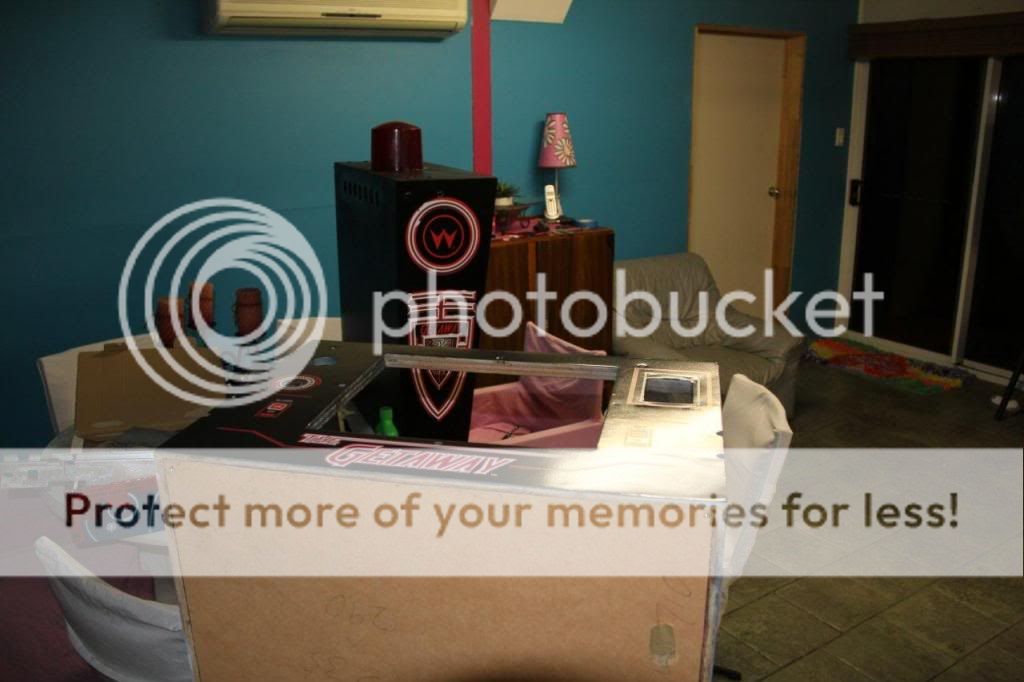
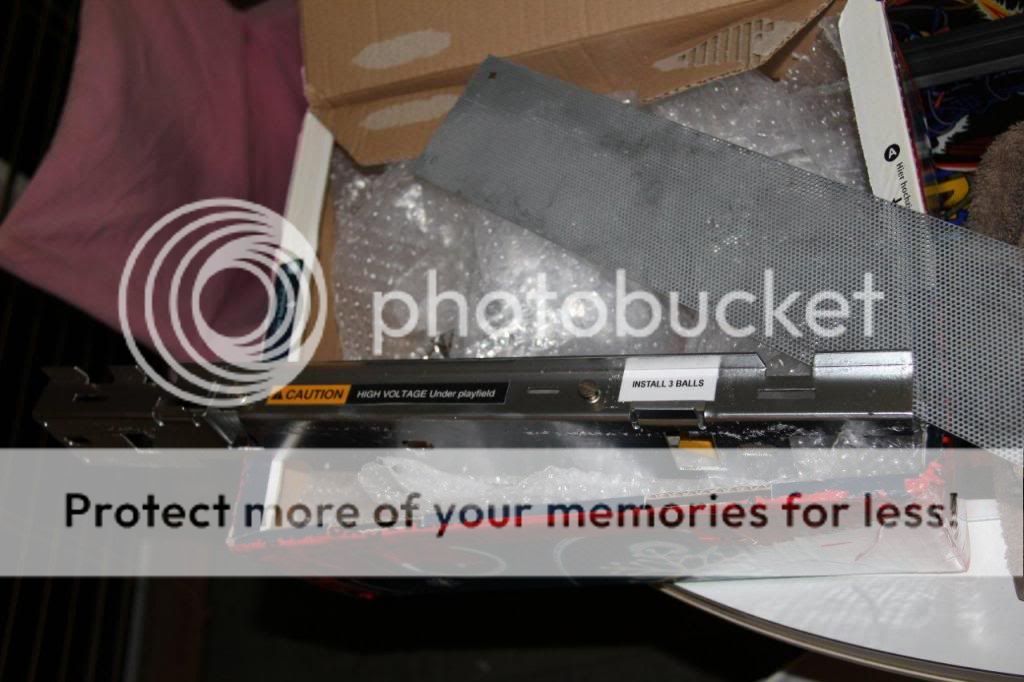
A few pics that tell most of the story
Note the bowed base

As with Fishtales, the playfield is reasonably good – no wear, just filthy

Has some serious issues here


Note secret possum entrance hole on the left side of the base

As with the previous machines, i was a bit nervous about the electronics, so only had the transformer wired up, and straight away blew the main fuse in the machine. Replaced the line filter, and it fired up no worries.
Tested all the outputs of the transformer, and they were all good.
I then connected the boards up (after cleaning some minor corrosion on the CPU and installing a remote battery pack) and fired it up. Solid 5.03V, and 12V which is great! CPU boots no worries, display board needs some work on the high voltage section as the difference between the two outputs is too great (should be 12V difference, but this one is -96V and -122V), so will look at that later. I’m getting no sound at all from the machine. Sound board has correct input and output voltages, speakers are not blown (tested with a 9V battery and got them to pull in), so is probably a wiring issue somewhere that will be easier to track down once clean.
Since the machine is 80% working (a couple of solenoids won’t fire, put you can start a game and most switches test OK), i hooked straight into the stripping process.
Picture of the base of the cab partially stripped

Close up of the ‘seedy end of town’….

With absolutely everything out of the cab and siderails removed, i started stripping the cabinet decals. I’ve found that the best way seems to be peeling the decals off by hand – with a scraper to help start. This way, all the adhesive comes off. If you use a heatgun, the adhesive remains, and it take longer and is more work getting rid of it all. That said, its still a slow process. The side pictured below took me about 45 mins to get what you can see done. Note how the original decal outline has transferred to the cabinet!

Have put quite a few hours in today and afternoons the last week. Finished stripping the cabinet decals and headbox. Knocked the base out as it was all swollen, as was the rear of the headbox
The first job was to clean up the possum mess and crud. While it looks disgusting, its not that hard to remove with the right stuff. First hit was with orange stain remover, let it sit for a few minutes, then used a cabinet scraper (in the left of photo) to scrape the bulk up.

After this, i then sprayed it with Nifti, and then wiped off with a rag. Honestly, Nifti is one of the best cleaners i have ever come across – the area in front of the bottle is what the rest was like before spraying with Nifti and wiping off!

Then went to work with builders bog.
There was a lot of areas where the cabinet was delaminating – just a few mm on the bottom edge, so its no point going to the effort of doing work and leaving stuff that will get worse in time to come. So i chipped back the areas where it was delaminating, then filled with bog, and sanded. Its a fairly time consuming process as i never seem to get it all done in one or two batches. The stuff goes of very quickly (normally within a few minutes its not really workable), so it means you have to go quick, but the beauty is that it can be sanded within 30 mins (20 mins if you add a bit more hardener). I use a round random orbital sander and it makes life a lot easier than the old 1/3 sheet rectangular one i had, due to the fact this one rotates as well as vibrates – makes things heaps quicker. I used 80 grit paper to level the bog, then 120 and 240.
A couple of shots of the cabinet and headbox, all sanded and bogged and ready to be hit with spray putty. I use this to fill in any wood grain or small dings that get missed with the builders bog. Talking to a bloke in the paint shop, he reckons its probably overkill, and i could get away with a cheaper (and easier to use) car primier undercoat that has reasonable build properties, but i’ve got 4L of spray putty, so will use it first, then try the other stuff with later machines.


The next step is a few coats of spray putty, then sand back and check for areas i might have missed a small nick or scratch, refill, sand, spray etc. Once it was good enough, i sprayed the edges in black – so when the decals are trimmed, there is black behind them.
Installed a new base in the main cabinet once i had sprayed all the inside black.
Then spent a lot of time cleaning all the cabinet hardware, spraying all the bolt heads black, getting rid of more gunk from everywhere.
Then put most of the stuff back in the headbox, and threw the decals on (wet method).
Also put the front decal on the main cabinet, but will need some assistance to put the side decals on.
A few shots of it starting to look like a decent machine….


Also tidied up things like the lockdown bar – sprayed with a chrome paint, and installed new warning and other stickers
Now have got all the decals installed with relative ease – still need to tidy up the corners with a sharpie or paint pen when these photos were taken

Now since there is not much info on applying decals via the wet method, i took a video of my wife and I installing them. Now this is how it works for me, others may do it differently, but hope it helps.
http://www.youtube.com/watch?v=7SCk4Hqk4Ek&feature=youtu.be
Well i got sick of it not being finished and hooked in over the last couple of weeks – a bit hard to remember as i didn’t document heaps or take a heap of photos. But pretty much in terms of stripping and cleaning, got the playfield bare, spent a while with Nifti, shellite and magic eraser getting rid of all the filth such as below


Then cleaned all the bits and pieces, rebuild flippers etc. A lot of the mechanisms (particularly the ramp lifter at the back had grease applied at some stage, and were almost completely seized with dry grease – so plenty of time getting rid of this and leaving things unlubricated as they should be.
Spent a lot of time on the boards, making sure everything was right.
Ended up blowing the 602 Fuse after a while on the display driver board – turned out to be the DMD being faulty – so in went a brand new one!
Also could not get sound at all out of the machine – after a lot of searching and frustrations, it turned out to be the connector on the cabinet speaker was corroded/filled with gunk so much that it wasn’t making a connection – so the signal wasn’t getting around the circuit. So put a new connector in, plus a new cabinet speaker. After that, i was getting a crackling/distorted sound, so put another sound board in from one of the other project machines, and got some impressive fireballs from the tantalum capacitors – C21, C26-C29, C46 and C47 – after i replaced all them, i got full volume with no ability to turn it down! Replaced C18 and it was all good.
Also had a dead TIP102 transistor on the power driver board that was not allowing the trough coil to fire a ball – replaced the TIP102 and its pre-driver transistor, and works perfectly.
Cleaned the whole wiring loom with Nifty, and put new flexi coil on most of the wiring and tidied it all up a lot better.
I also painted the supercharger cover in chrome paint which made a huge difference
Also made up a new laminated cover for the ball launcher
After that, put most of the cab bot together

Then got the playfield half back together before putting back into the machine (so i could test switches etc as i installed them)

At this stage when i put the supercharger ramp in, i was getting an opto error with two of the optos, traced the issue to the opto driver board, and put a new LM339 chip in to sort it out and all worked sweet. Its much easier to test things as you rebuild it, rather than find an issue, then have to pull things half to pieces just to access it!
Then spent some time playing with LEDs to get a decent effect – ended up with a combo of mainly greens and whites in the GI, as well as some reds – again, easy to experiment with the playfield partially rebuilt


Then pretty much all came together well from there


After that, time for the first game – and managed to get redline mania on ball 1! So pretty happy with that.
Game plays very fast, sounds and looks great and flippers are spot on with all new components


Great job! Great way to show how something difficult can be done easily and well!
Very impressive. I’m redoing a fish tales now that looks like it was floating in the Atlantic Ocean that I thought was in bad shape. Nothing in comparison to what you started with. BTW, Nice collection of machines. I also have a JunkYard, RoadShow, Shadow, Getaway (as well as a Creature, White Water, 2 fish tales, WCS94).
Great job.